Showing posts with label Fabric Tuesday. Show all posts

Tuesday, April 28, 2015

Another "Addition"

Wow, dropped the ball again with blogging. :-(. So sorry!!  It's been a whirlwind couple of weeks and I've just been crafting away... Forgetting to document things.

Anywho, I have a new addition to my sewing machine family :-). Meet "Thor"....


He's my new Juki TL-2010Q and I LOVE him!!  Last week I had the opportunity to get him for a fabulous price and I just had to jump on it!  Now, he's not to replace any machine, but as an enhancement to what I have. Being a straight-stitch only machine with a great sized harp (amount of room from the needle to the side of the machine), I think I'm going to be able to quilt much faster and easier, not to mention more accurately. 

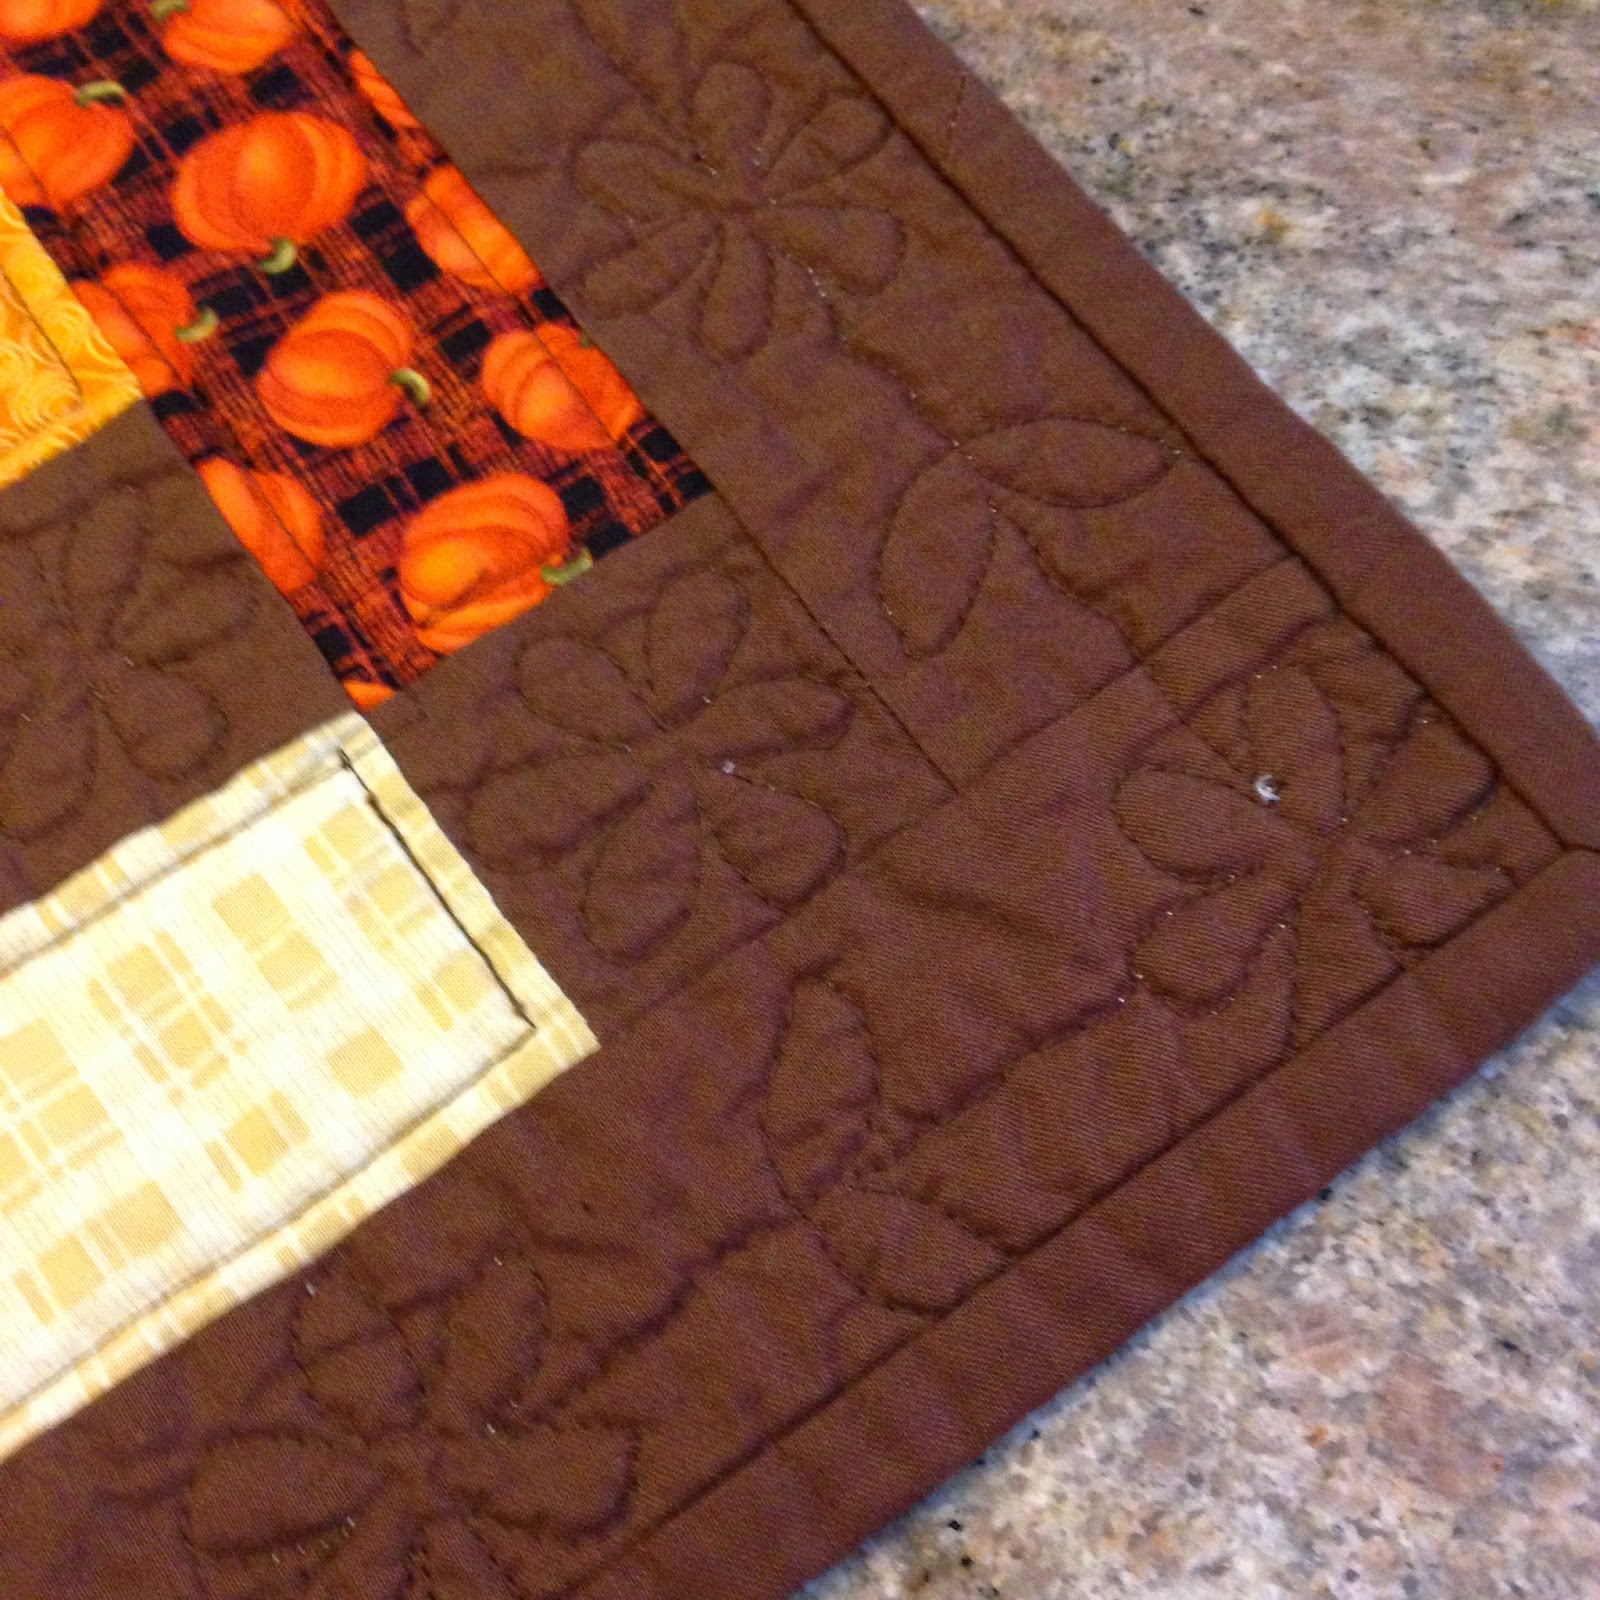
I love my "Rosie," and even though she has a 10" throat, she's only got 4" in height which made getting quilts thru her harp somewhat of a challenge. Lots of cramming and adjusting and frustration. Doing anything more than straight echo stitching in the body of the quilt was sometimes a real pain. I've only been able to do FMQ really on the borders because of the space issue. With the Juki, I don't see that being much of an issue. 

The other thing I love about him is he came with practically every foot I could need plus a generously sized extension table. No need to run out and purchase the accessories to do what I need him to do... He's good right out of the box!

I got him Friday and just couldn't wait to get to work!  Got him set up, figured out how to wind the bobbin and get him threaded, and I was off!  Grabbed some scrap fabric and just started going. I had some tension issues, but that could be because of the kind of thread I was using. After some finagling with the tension knobs, I finally think I got it :-)


Now, this being my first "industrial"-type machine, there was definitely a learning curve. 
  • Speed - Oh yea!  So fast (1600 ditches per minute I think). Got him set at medium speed and so far that is working for me. I'm sure the high speed will be great for quilt piecing though, and chain stitching. 
  • Auto Thread Cutter -Something I've never had on a machine before.  Took a while to get used to the rocking back of the foot petal to cut.  Kept cutting threads when I didn't mean to.  Lol.  After a few days of playing, I finally got the hang of it... and now I'm spoiled!  LOVE this feature!
  • Knee Lift - Honestly, I thought this was going to be the greatest feature, but turns out... not so much.  At least for me.  I put the knee-lift on right away, and between that and the thread cutter on the foot petal... I was a mess.  I'm sure once I get the complete hang of the machine, the knee-lift will be a valuable lasset, but for now, it's being stored away.
Now, for the things I'm not quite liking....
  • Lighting - This machine has some serious lighting issues.  Even with my OTT light on my desk, there is so much shadowing it's hard to see.  Thankfully, I saw on a bunch of blogs when I was doing research that there is a bit of a work-around.  I ended up buying a set of the Inspired LED lights off of Amazon and I think that will be the fix.  Haven't had a chance to install them, but that is on the list of things to do this week.  I think they'll definitely make a difference!
  • One-Piece Presser Feet - This is something that I'm totally not used to, nor do I think I ever will be.  Instead of the snap-on feet like on the rest of my machines, this one has solid piece presser feet which require unscrewing in order to switch out.  I've been working on Bionic Bags over the past few days and having to keep switching between the regular foot and the zipper foot has proven to be a bit of a pain.  Not a huge deal-breaker, but still an annoyance.
  • Walking Foot - It's awesome that they included a walking foot with the machine, however it takes some finagling to get it to work correctly.  First time I tried it, it made such an awful sound and I was afraid I was breaking something.  After further investigation, I found out that you're supposed to drop the pressure on the pressure foot and only go at about a medium pace.  That is supposed to be the fix for it.  Haven't tried that yet, but will definitely be doing that soon.
Other than that... I LOVE HIM!!!!  So happy with the purchase and can't wait to see how well I can do my quilting now.

Oh, and on his name..... Hubby totally named him.  Lol.  Since it was Hubby that pushed me to jump on the opportunity, I let him chose the name.  Told him it was going to be my workhorse machine, so he saw it fit to name him "Thor."   I was fine with that, so Thor it is :D

I've got LOTS of projects to share, and I'm going to attempt to get them posted here in the next week or so.  Been busy, busy, busy... I just need to remember to post :D

Happy Tuesday Everyone!

Linking up to Linky Tuesday at Freemotion by the River, Fabric Tuesday at A Quilt Story, and Sew Cute Tuesday at Blossom Heart Quilts


Fresh Poppy Design

Sew Cute Tuesday

Tuesday, March 17, 2015

Actually Making Progress!

It's been what feels like years since I've actually quilted!  Between all the shirts and vests, and then the Bionic Gear Bag... Hubby's poor "Family Guy" quilt has been on a back burner.  I think the side projects were partially to blame, but also my indecisiveness on the quilting was also a major factor.  I think I was over-thinking the process and making it out to be more difficult than it needed to be.... resulting in it sitting for the past 6 weeks or so.

So... this weekend I was determined to get it done.  I pulled it off the shelf, dusted it off, and got to work.


Just simple straight-line stitching in the smaller blocks and rectangles, then some diagonal lines in a couple of the larger rectangles.  Then it was time to tackle the 12" square blocks and the 8" square blocks.  Didn't want to do something too crazy or intricate, but they definitely needed something.


On the 12" blocks, I just used my Silhouette Cameo to cut out a star shape out of cardstock that was about 8" x 8", traced it on the block, and then used my FMQ foot.  They're far from perfect, but they look OK.

Then, for the 8" blocks, I used my loopy swirls stencil and just did some FMQ in the block.  Again, far from perfect, but doesn't look terrible.


It's now about 95% done with the binding attached and just needing the hand-stitching done.  Add to that a quilt label (which I still have to make), and it'll be ready to go.  Figures... I am finally going to finish it and we have officially entered Spring here in NE Ohio with temps in the 50s.

Sew Cute Tuesday

Also linking up to Freshly Pieced's WIP Wednesday and Sew Fresh Quilts' Let's Bee Social


Sew Fresh Quilts


I Quilt @ Pretty BobbinsMy Quilt Infatuation


Linking back to Needle & Thread Thursday at My Quilt Infatuation and I Quilt Thursdays at Pretty Bobbins.


Monday, March 9, 2015

OOPS! I Did It Again

Every time I put myself on a "diet," I manage to fall off the wagon.  Not just a little bit, completely off the wagon.  Sometimes I can't help it ;-)  When there are so many gorgeous fabrics and so many great deals to be had.... I just can't help myself. 

Aside from the crazy order I got last week from Wawak for more zippers (216 in total!), I found this A-MAY-ZING online store located in Fort Worth, TX.


Fort Worth Fabric Studio

Jodie and the gals over at The Fort Worth Fabric Studio have such a great online store, PLUS they've got a totally awesome blog with tons of patterns and tutorials.  My mail organizer I made a few weeks back came from their blog :D  I grabbed a few of their "Friday Bundle Batches" from a few weeks ago and checked out.  The next day I realized I forgot to order one and placed a second order.  They've got such great customer service that with a quick email, Jodie was able to combine the two orders and ship them together.  Easy peasy!  Ordered on March 4/5 and received it on 3/7!  Lightning fast shipping :D

Here's what I got....

L-R:
They even included a cute FWFS pen and a YUMMY hot cocoa mix (it didn't make it 10 minutes in my house! Lol).  I LOVE their shop and they have just gotten a loyal customer out of me!  I'm looking forward to their upcoming Friday Bundle Batches.  I'm sure there will be more heading my way :D  These fabrics are slated to be used for more Bionic Gear Bags, but I'm not quite sure.  They're so pretty.... I don't know if I'll be able to actually cut into them or not!  Ha ha ha.

If all that isn't enough..... I went to JoAnns.  Not once, but TWICE over the weekend!  Went right after work on Friday, only to grab some more yarn I needed to finish up my Baby Brights Scallop Blanket.  The yarn wasn't on sale, but I had a bunch of 50% off coupons to use.  That was the ONLY thing I was supposed to get.  Weeeeellllll.... you know how that goes.  Lol.  Came home with just a wee more than I had planned on.

The ONLY things I went into JoAnn's For!

The additional stuff that "jumped" into my cart before I left the store

And THEN... on my way home Friday night I realized I forgot the batting I needed.  I'm making a Doll Carrier for my niece's American Girl Doll.  Bought the fabric and the bias tape and everything.... forgot the batting.  I don't normally use this kind of batting, so I don't have any scraps.  JoAnn's had all their batting 50% off, so I was kicking myself for not grabbing it.  This would just have to require another trip... doesn't it?  Lol.

Grabbed the batting, plus some more Warm & Natural since they were on sale as well.  Again, that was all I was going in to get, but somehow my cart ended up full again.  Lol.  I grabbed enough flannel to make 4 of my little Cuddle Blankets for my in-progress Etsy store I'm putting together, and then I made the mistake of going over to their remnant bin.  50% off the current price per yard.  With the Anti-Pill Fleece Solids already on sale for $4.99/yd, most of these remnants only cost me a little over $1.  Don't really have a plan in place for them, but I'm sure I'll think of something.  Lol.

That's IT!  Well, until I go to the Sewing & Quilting Expo here in Cleveland in two weeks with my mom.  I've gotta save pennies for that trip!

"Ransacked" the remnant bin!

Flannel for 4 Cuddle Blankets and 1 Self-Binding Receiving Blanket, and "Dr Who" fabric for a shirt for Hubby

Always needed cotton batting, plus some new crochet hooks and a case

Looks like I've got a LOT to do.  Best get back to work so I can "un-bury" myself from the piles of stuff in my craft room!

Happy Monday Everyone!

Linking up to Linky Tuesday at Freemotion by the River and Fabric Tuesday at A Quilt Story.


Fresh Poppy Design


Tuesday, October 28, 2014

Checking In and Catching Up

Holy cow!!! It's been a minute since I've posted :(  So sorry about that!!  Life has just been absolutely CRAZY lately and I've barely had time to sleep let alone anything else.  I had about three weeks where I was battling a nasty sinus infection, the flu, and overall feeling like a bulldozer hit me.  It was a struggle to go to work, let alone work on anything productive.  In the meantime, housework, laundry, grocery shopping, etc. kinda took a back seat and I got really backed up (I mean, on the verge of just buying new clothes instead of doing laundry and taking a black garbage bag to the house and pitching anything I don't know what to do with).

After about 2 1/2 weeks, I slowly started getting my energy back.  Since then, I have been very, VERY busy getting Mt. Laundry done, cleaning up the pigsty of a house, and getting some food in the house.... along with spending as much time in my craft room as possible trying to work on Christmas gifts, along with a bunch of little projects that have come up.

So, without further ado.... here's a recap of what I've been up to (WARNING: REALLY LONG POST AHEAD!!!):

1. Puppy Shower Gifts


I finished up the Bones Quilt I was working on for my girlfriend's "puppy shower," and I also managed to whip up a self-binding receiving blanket with some adorable doggie flannel I found at JoAnn's.

Bones Quilt Project Details:

 Self-Binding Receiving Blanket Details:

  • Started: September 26, 2014     Finished: September 26, 2014
  • Pattern: Self-Binding Receiving Blanket from Missouri Star
  • Fabrics: Dog-Themed Snuggle Flannel and Hot-Pink Snuggle Flannel from JoAnn's
  • Thread: Coats & Clark - White All-Purpose Thread (construction stitching), Coats & Clark - Hot Pink (Top Stitching)
  • Batting: None

2.  Fall Friendship Braid Table Runner (For My Mom)


Ever since I saw the video tutorial that Missouri Star did on their Friendship Braid/Binding Tool Table Runner, it's been on my "To-Do" list.  Snagged up a fall-themed Jelly Roll from Missouri Star and got to work.  I even managed to so some free-motion quilting on it for practice.  Didn't turn out perfect, but definitely better than the first few times I practiced.

Friendship Braid/Binding Tool Table Runner Details:

3. Mini-Cornhole Bean Bags


Hubby has a DJ-in company and he's been looking for new games to play while they're dj-ing at a local bar.  I dragged him to Pat Catan's (a local craft store) a few weeks back looking for some yarn and we stumbled upon some finish-them-yourself Mini Cornhole Boards (they're approx 12" square).  For those of you who aren't familiar with Cornhole, here's all the info.  We bought the boards and some spray paint, but couldn't find any of the bean bags to go with it.  This is when it pays to have a crafty wife.... I can make them :)  I got four cheapie bandana's (two of each color in their company colors) and a couple bags of bean bag filler.  I cut the bandanas into 4" squares, sewed them using a 1/2" seam allowance on three sides, filled up the bag with beans (weighed each bag so they were all the same), and then sewed the opening shut using my machine.  Easy peasy!  I ended up making eight bags of each color, plus I still had two bandanas left so I made little draw-string carrying bags for them using a tutorial from The Crafting Gemini on YouTube.  Not much to them, and got them all done in one night.... kinda impressed Hubby with that one ;-)

I really didn't do too much of the board with the exception of cutting the logo out with vinyl on my Silhouette Cameo.  Hubby put a couple base coats of neon orange and then I applied the vinyl.

Sorry about the shadow of my arm!!! Lol.  Photo was taken in my garage

Once the vinyl was on, Hubby painted over the whole thing with black glitter spray paint.  Once it was dry, all we had to do was remove the vinyl and.... VOILA!


After a couple of coats of crystal clear top coat, they are ready to go :-)

4. Yellow Brick Road Quilt (for my Grandma for Christmas)


"Technically" this one is done, just only have a pic of it ready to be hand-bound.  I actually finished it up a few weeks ago and it's been washed.... just haven't had a good day to take it outside for it's "formal photo shoot."  Hoping I can get a decent pic of the completed quilt, and maybe I'll even be able to get it posted for this week's Finish It Friday!

5. Knitting Project: Baby Blanket


Ok, so this isn't a quilting project, or a finished project.... but it is one of the few UFO's in my knitting queue.  I've had this yarn for a while and wanted to make a baby blanket with it.  Don't have a baby yet to give it to, but it's working up real quick and it'll be nice to have in my gift stash for the future :-)

6. Halloween Costume


My adorable niece, Miss L, turned the big ONE back on Oct 15th.  My sister and BIL threw an awesome Halloween-themed, costume birthday party for her.  Of course, I was stumped for an idea.  Then it dawned on me... I'm going to be bringing my camera anyways, so I might as well go as a photographer.  Well, that idea eventually turned into a "Paparazzi" idea.  Got a cheapie black hoodie from Wally World and a roll of Cricut brand Pink Glitter Iron-On Vinyl.  I used my Silhouette Cameo again to cut the camera and words out of the vinyl and then just ironed it on.  Came out really cute, and it was a REALLY comfy costume considering it was like 50 degrees and raining the day of the party. 

7. Walking Dead Shirt (for Hubby)


Hubby loved his Comic Book shirt so much that I promised I would make him lots more.  When I saw an email from JoAnn's about this Walking Dead Fabric, I just knew he NEEDED a shirt!  He is DJ-ing a party on the 1st that is a "Zombie Theme" party, so this shirt will be perfect for him to wear :-)  With this being the 4th shirt I've made from this pattern... I'm getting pretty good at it.  Lol

Walking Dead Shirt Details:
  • Started: October 24, 2014     Finished: October 25, 2014
  • Pattern:  McCall's M2149
  • Fabric: Walking Dead Cotton from JoAnn's
  • Notions: 4 - 3/4" Black Buttons
  • Thread: Coats & Clark - Black All-Purpose Thread
Well..... that about sums up the past couple of weeks.  I've got a couple more little projects I'm working on, but I haven't had a chance to get pictures taken yet.  I've got a big WIP quilt that I'll be posting tomorrow, and then the big finish on my Yellow Brick Road quilt on Friday.  Going to be a busy couple of days, but I'm loving it!

Linking up to Linky Tuesday at Freemotion by the River and Fabric Tuesday at A Quilt Story.


Fresh Poppy Design

Tuesday, August 26, 2014

Another One Off The List...

It's been a long process, but I finally can check Christmas gift #2 off the list!

This one was quite a challenge considering I'm still a "newbie," but overall it was a lot of fun and turned out better than I had hoped!
Being twice the size of the other two quilts I've done, I was honestly worried that it would turn out OK.  Not only did the top come together extremely quickly once I got into a rhythm with it, but the new large throat space on my new machine made quilting a breeze!
I chose to do echo stitching in the lattice and first border, and then Stitch-In-The-Ditch thru the triangles.  I also just did some straight stitching in the border to give it some more texture.

Here are the project details:

I actually had so much fun making this one that I've already got the stuff to make a Christmas-themed one (eventually).  So glad to be able to check another one of the list :)  Such a great feeling!

Hope everyone is having a terrific Tuesday!

Linking up to Linky Tuesday at Freemotion by the River and Fabric Tuesday at A Quilt Story.


Fresh Poppy Design


Sew Fresh Quilts


Also Linking back to Finish It Friday at Crazy Mom Quilts , TGIFF, Can I Get a Whoop Whoop? over at Confessions of a Fabric Addict, and Link-A-Finish Friday at Richard & Tanya Quilts


Tuesday, July 8, 2014

Two Finishes!

I already posted last Friday with my finish on the Pink & Chocolate quilt, but I didn't get a chance on Saturday to post with my second finish for the week.


Between Friday and Saturday, I managed to whip up this awesome table runner for my living room coffee table.  We got this table a few months ago when we got our new furniture and boy is it MUCH bigger than we anticipated!  It's flippin huge!!!  Plus, it's made of that really soft wood (can't think of what kind it is) and scratches really easily.  I've been babying it for the past few months, making sure coasters were used and avoiding things that could scratch it.  It was about time I made a table runner to protect it.


When I first started this runner, I made the mistake of not looking at the finished dimensions.  Minor detail, right?  Well once it was all pieced together.... I started panicking!  It was HUGE!  Honestly, I thought it was going to completely cover the coffee table like a tablecloth.  But.... I kept on working on it.  Figured I had come this far, I might as well finish it. 


Got it all pieced and had the top done by early Friday afternoon.  Managed to get it based and the binding made before I had to head off to a 4th of July cookout.  After some chores on Saturday, I got to work quilting it.  I don't know how I did it, but when I went to square it up after quilting... it really was pretty much straight already!  All I really did was cut off the extra batting and backing.  That was a total first for me.... that my seams were all straight and the top was square when I started!


Then came the fun part... the binding.  Now, I double-checked the pattern twice before cutting the binding strips.  2 1/4" each.  Not the 2 1/2" I was used to.  OK, no biggie.  Got it all sewn on with no problem.  Then it came time to use the awesome Binding Tool that I love ever so much.  I don't know what I was thinking, but I assumed that the tool would work for any size binding.  WRONG!  Totally doesn't work with binding that is any size different than 2 1/2".  I ended up having to monkey with it a bit to get it right, but eventually it all worked out.

Spent practically my entire Saturday night hand-binding it to the back.  Got it all done and couldn't wait to try it on the table.  Ran downstairs, held my breath, and spread it out on the table.  Well wouldn't ya know..... PERFECT FIT!


Like, seriously... there are little lines that run the perimeter of the table a couple of inches in from the edge that make a rectangle.  This runner is the EXACT size of that inner rectangle!!  I couldn't believe it!  I about did cartwheels in my front yard, but at the risk of looking like a nut job to my neighbors... I restrained myself.  Lol.

Here are the project details:
I've got fabric to make a Halloween runner as well as a Christmas one.  I don't want to use the same pattern, but I'm going to shoot for the same dimensions. This size is perfect!  Time to check another project off the "To-Do" list!

Hope everyone is having a terrific Tuesday!

Linking up to Linky Tuesday at Freemotion by the River and Fabric Tuesday at A Quilt Story.


Fresh Poppy Design

Also Linking back to Finish It Friday at Crazy Mom Quilts , TGIFF with Audrey at Glory Be Quilter, Can I Get a Whoop Whoop? over at Confessions of a Fabric Addict, and Link-A-Finish Friday at Richard & Tanya Quilts